There's a particular frustration that every maker knows: you're mid-project, everything is flowing, and then you spend fifteen minutes looking for a drill bit you know you own. The rhythm breaks. The momentum dies. And when you finally find it — wedged behind the router table, naturally — the spell is broken.
Workshop organization isn't about having a Pinterest-perfect space with color-coded everything. It's about creating systems that let you work without interruption, that keep your tools where your hands expect them to be, and that survive the reality of an active, working shop.
Zones, Not Categories
The most effective workshop layouts are organized around workflow zones rather than tool categories. Instead of putting all your saws in one area and all your measuring tools in another, think about what you do and where you do it.
A typical flow moves through stages: dimensioning rough lumber, joinery work, assembly, and finishing. Each stage has its own set of tools and its own space requirements. If your miter saw is on one side of the shop and your workbench is on the other, you're spending half your time walking back and forth.
Place tools near the stations where they're used. Keep your marking and measuring tools at the bench. Store clamps near the assembly area. Put finishing supplies together, ideally in a space with good ventilation. When the tools are where the work happens, transitions between steps become seamless.
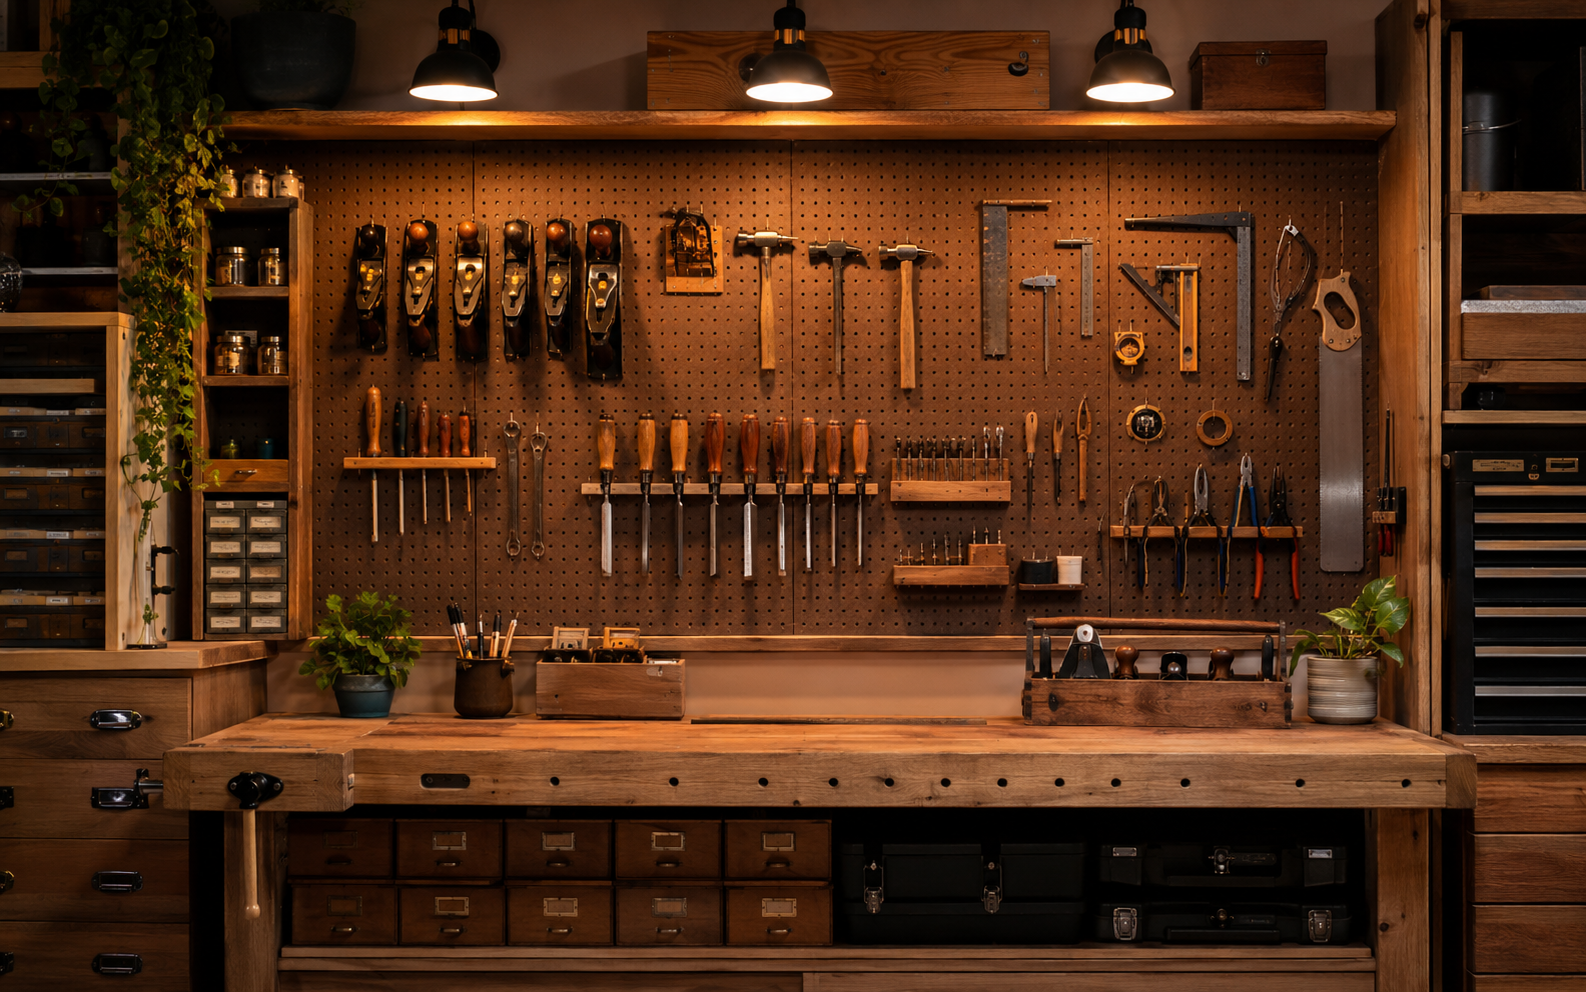
Wall Storage Beats Drawer Storage
Drawers hide things. That's their fundamental problem. Unless you have an exceptional memory or a labeling system you actually maintain, tools in drawers become invisible. You forget what you have, you buy duplicates, and you waste time rummaging.
Wall-mounted storage — pegboard, French cleats, magnetic strips, open shelving — keeps everything visible and accessible. You can scan the wall and spot what you need in seconds. You can also see immediately when something is missing, which is its own form of discipline.
French cleats deserve special mention. They're simple, cheap, and endlessly reconfigurable. A set of cleats on the wall lets you hang custom tool holders, shelves, and racks that can be rearranged anytime your needs change. Build them from plywood scraps and you'll wonder why you ever used anything else.
The Five-Minute Rule
Here's the organizational habit that actually sticks: at the end of every session, spend five minutes putting things back. Not a deep clean. Not a reorganization. Just return the tools you used to their homes, sweep the major debris, and clear your bench.
Five minutes is short enough that it doesn't feel like a chore, but consistent enough that it prevents the slow entropy that turns a functional workshop into a disaster zone. Do it every time, and you'll always walk into a shop that's ready to work.
The key is making it easy. If putting a tool away requires opening a case, lifting a lid, and sliding it into a slot, you won't do it consistently. If it means hanging it on a hook three feet from where you used it, you will. Design your storage for laziness — the easiest option should be the right one.
Lumber Storage and Offcuts
Lumber is the silent space-eater in any workshop. Boards pile up against walls, offcuts accumulate in corners, and before long you're navigating an obstacle course just to reach the bandsaw.
Invest in a proper lumber rack. Wall-mounted horizontal racks keep boards organized by species and size while leaving the floor clear. For offcuts, designate a single bin or shelf with a rule: if it's smaller than a certain size, it goes in the firewood pile. Without a rule, offcuts multiply like rabbits.
Organization isn't a destination — it's a practice. The best system is one you'll actually maintain, and the best time to build it is now. Start with whatever's frustrating you most, fix that, and let the rest follow.